


classic tax discs old tax discs replica tax discs historic tax discs novelty tax discs aged tax discs British tax discs reproduction tax discs authentic tax discs new (old) classic tax discs


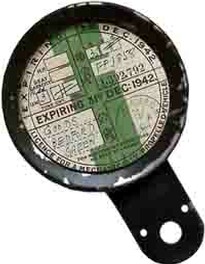
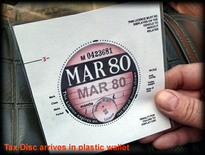
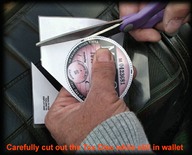
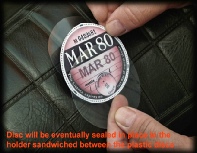
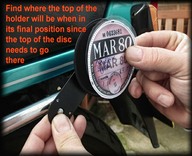
When mounting a disc into any one of the variety of holders available for external use (e.g. on motorbikes or older classic cars), it is important that the disc be sealed into the holder as securely as possible. This is to reduce the possibility of water getting in, which will affect its appearance as it did with the original discs. Moisture causes the ink to bleed and the paper to wrinkle.
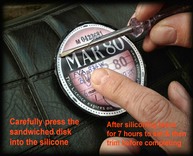
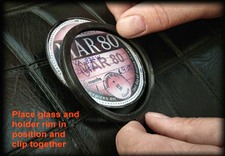
Manufacturers of these holders do not necessarily guarantee them to be totally watertight, however, if you follow the steps shown here your disc will be protected from the elements as practically as possible, and help it keep its appearance for as long as possible.